|
|
|
|
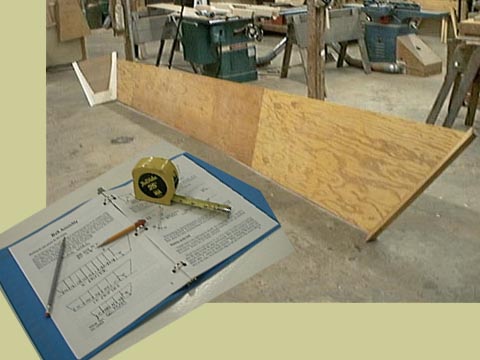
What follows in this "slide show" is a brief visual demonstration of a boat being put together in the shop. It is meant to aquaint the faint of heart to the main steps in constructing one of our typical fir plywood boat kits. Naturally, in this type of presentation, detail found in the assembly manual is skipped over here in favor of the "high spots". Prior to this point, sanding of wood parts, minor assembly and preparation of parts has been done. The sides, bottom, frames (ribs), and long white oak parts have been coated with several coats of finish to help seal the parts against moisture. More finish will be added after the hull is assembled (see pages on finishes and epoxy). You will soon notice that there is no strong back or jig of any sort to build the boat on. The frames will be attached to the sides using parallel spacing lines laid out in the manual. Those lines are drawn 90 degrees from the bottom edge of a side panel (see above, left hand page). The "V" looking thing in the back of the photo is the transom attached to a side. The stem, which is a bit hard to see, is attached to the other, taller end of the boat. The latter end will be the traditional high pointed end of a classic Mckenzie drift boat. |
|
Previous |
Next |